Monday, November 28, 2011

Vanilla Extract, Part 2


Hey, remember those two mason jars full of vodka and vanilla I put aside months ago?  No?  Well, feel free to read the first part of this post from back in August.   Technically the vanilla was ready last week, but I needed to choose a worthy test of vanilla extract before I could write about it.  In the end, I chose Vanilla Pudding for its simple flavor and uncomplicated recipe to make the comparison.  

First of all, let's talk about the look and smell of the vanillas.  Store bought is the familiar dark dark brown, with the scent of rubbing alcohol.  Homemade looks like murky water, and smells like, you guessed it, vodka.
When I was looking into making vanilla back in August, I read so many reviews of various recipes that complained that their vanilla smelled like vodka, not vanilla.  I don't think they every stuck their nose in a bottle of vanilla.  It smells terrible!  Oh- the comparison vanilla is Food Lion brand.  One thing that the Food Lion vanilla has that mine does not on the ingredient list is corn syrup.  I don't really know why that would be there, and I'm equally baffled at the "Pure Vanilla Extract" label when clearly it is not.

Anyway, onto the pudding.  I tasted them over and over again, and I really couldn’t tell the difference, but I thought it might just be my pregnant taste buds.  The store bought vanilla made a pudding that was very slightly darker and thicker.  I asked my husband to help me out, and he thought the pudding with store bought vanilla was very slightly more “vanilla-y”, but when I said that maybe my vanilla needed a few more beans, he said that was unnecessary.  
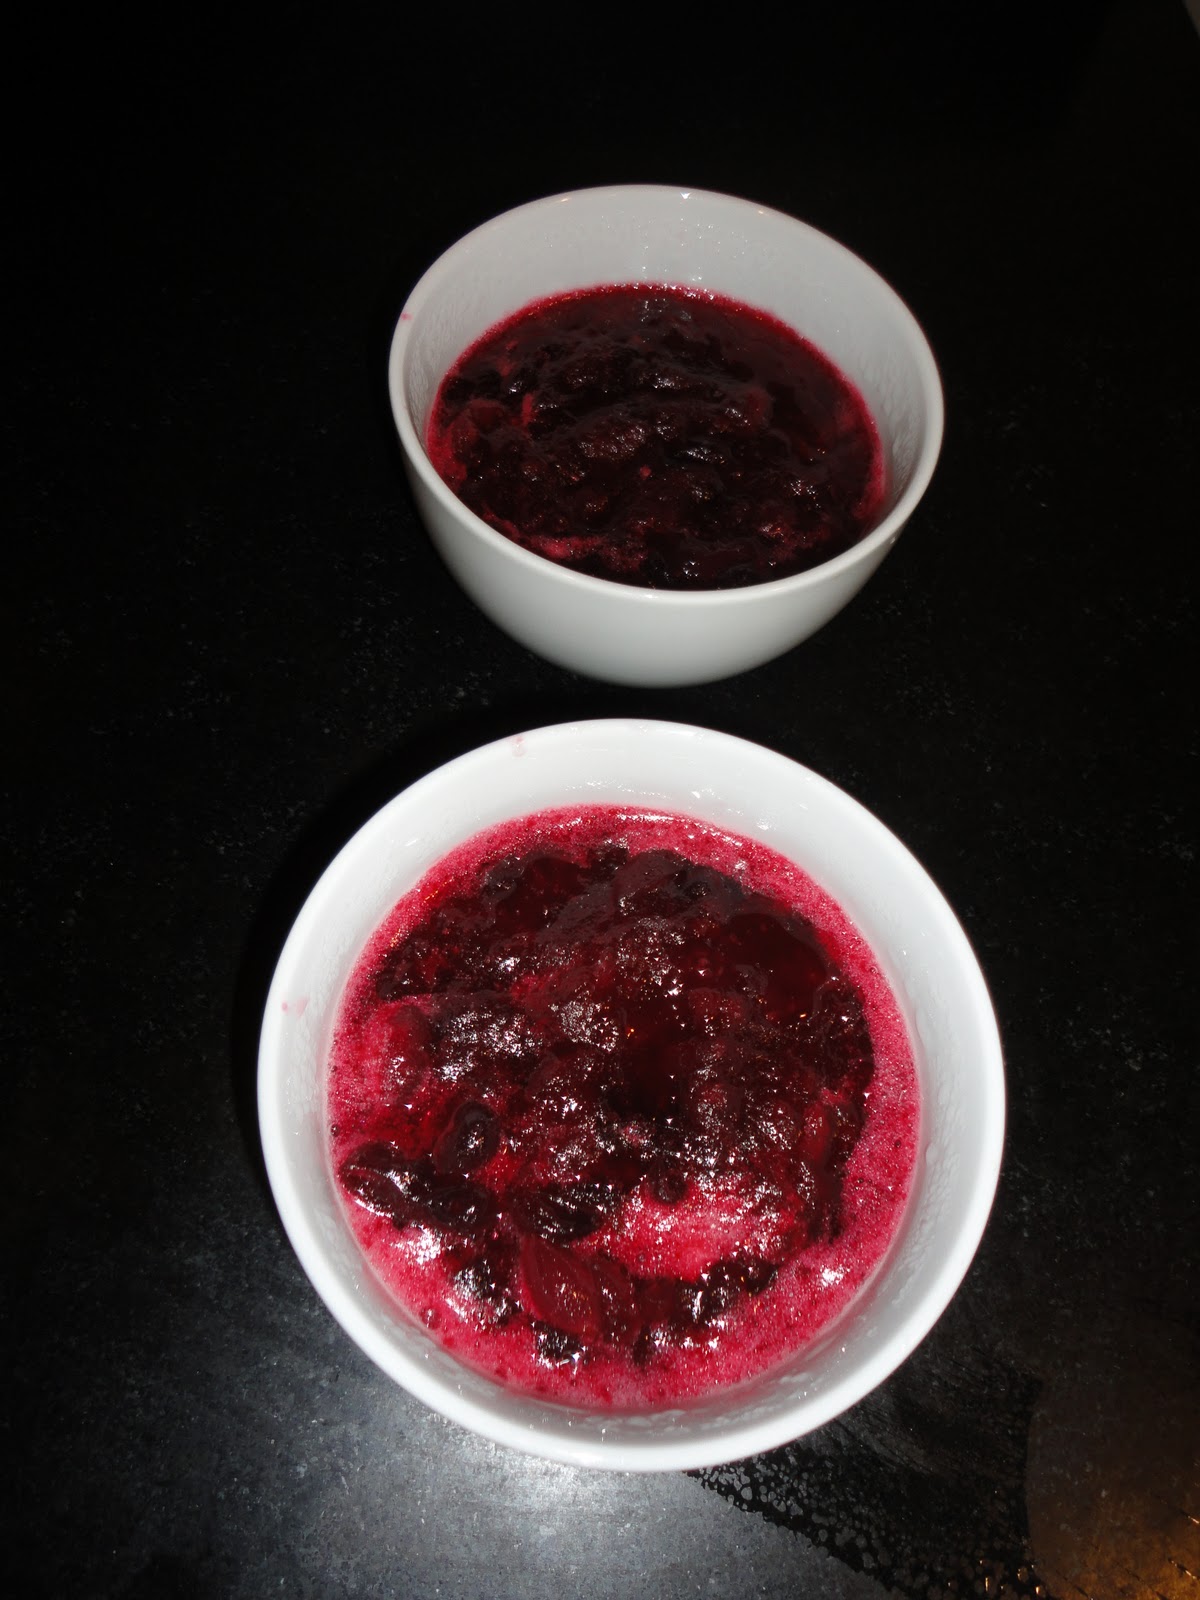
Side by side comparison

So, I think I’ll say the verdict is Try It.  I still may add a bean or two to each jar to strengthen it a bit before Christmas.  Once we’re close to gift giving time, I’ll strain it though cheesecloth, and pour it into some small bottles or jars to give out to my loved ones.  Anyone else have some vanilla going that they’ve tested?     

Tuesday, November 22, 2011

Cranberry Sauce

Thanksgiving is my absolute favorite holiday.  It’s not built up, or dragged out, it’s just a great meal with family and friends, and a day set aside to be thankful for everything and everyone we have around us.  What a concept! Plus, the food is generally simple and inexpensive, mostly native to the US, and always delicious. 

We always had canned cranberry sauce growing up.  I never could stand cranberry sauce, I disliked the texture, tartness, and presentation.  I clearly remember the first time I had homemade cranberry sauce.  I was in college, and my sister had just moved to New Orleans.  She wasn’t going to make it home for Thanksgiving, so I went down to spend the holiday with her.  We made a whole feast, even though there were only three of us.  I don’t know what made us decide to make the saucy leap, it might have had something to do with the combination of our first Thanksgiving we cooked ourselves, and the fact that my sister had spent the previous Thanksgiving in Ireland, and was keen on doing it up right.  In any case, at the time, it was mind blowing for two reasons:  It was so tasty, and insanely easy.

I have tried a few variations since that New Orleans feast- apple cider infused, orange cran.,  and they’re fine, but I prefer the basic recipe on the back of the Ocean Spraycranberry package myself.

You will need

1 cup sugar ($3.00 per 5lb, $3.00/80 (servings per bag) = $.04)

1 cup water

12 oz cranberries, fresh or frozen ($2.50)

I love how they all pop in the heat.
Bring the water and sugar to a boil over medium heat.  Add the cranberries, bring it back to a boil.  Then turn the heat to low, and simmer for 10 minutes, stirring occasionally.  Pour it into whatever you’re going to serve it out of, and let it cool to room temperature covered.  Then refrigerate till you’re ready to use it.
Cooling on the counter
Ready for Thursday, one for each end of the table.

Try It:

$2.54 for 22.5oz, or $.11/oz.

Buy It:

$1.50 for 14oz can of whole berry Ocean Spray sauce, or $.11/oz.

Verdict:
It’s the same price, has no corn syrup, and is actually worth eating!  Absolutely Try It if you haven’t already, even if you always thought cranberry sauce was disgusting!

Wednesday, November 16, 2011

Thin Wheat Crackers


We eat a lot of Wheat Thins in this house, generally accompanied by hummus or cheese, but also just by themselves.  I was a little nervous about making these because we are all so fond of the store bought variety, but I thought  it was worth a shot.  I followed this recipe from Allrecipes.
Ingredients, ready to go
You will need
1 ¾ cups stone ground organic wheat flour ($1.39 per lb $1.39 x .656 lb = $.91)
1 ½ cups organic all purpose flour ($1.39 per lb, $1.39 x .516 lb = $.72)
2 tsp salt ($.79 per 26 oz, $.79/122.75 tsp = .006 x 2 = $.01)
1/3 vegetable oil ($2.49 per qt, $2.49/ 12 1/3 c servings = $.21
Mix it all up
Roll it out and transfer to a baking sheet
The secret to these is rolling them very thin, and baking them till they are decently dark.  If they aren’t thin or crispy enough they taste like salty cardboard.  Baking them for 25 to 30 minutes lets all the moisture out and allows the wheat flavor to shine.  The recipe says it will all fit on one sheet, which is what I did, but they were too thick.  The edge pieces were good, but the center was too thick, and too cardboardish.  Someone on the site recommended a pasta roller which sounds like a really good idea, but I don’t have one.  There also bands you can buy to put n your rolling pin to ensure even thickness, but I don't have those, either.
Score the dough into small crackers, poke it all over with a fork, and throw some salt on it.
once they're cool, break them on the score marks and enjoy with your favorite dip
Try It:
One batch cost $1.85, for about 20 oz, or $.09/oz
Buy It:
A Family Size box of Wheat Thins cost $4.49, or $.28/oz
Verdict:
They’re not my favorite.  I would Try It once, and see how you like it.  They’re so easy and cheap you won’t set you back anything, but I don’t know if I’ll make them again, I’d rather Buy It.
Anyone have a better cracker they’d like to share?

Monday, November 7, 2011

Christmas Tree Ornaments

Crazy as it is, Christmas is upon us once again.  By the beginning of November I like to have at least a basic plan for gifts, since a few years back I switched to making bags of homemade things in lieu of store bought gifts for most of my family.  One thing I like is homemade ornaments.  There’s a whole range of homemade ornaments on our own tree- We have hand carved wooden ones from my father in law, mixed medium ones from my sisters in law, crocheted ones handed down from my husband’s grandmother, and re-purposed items turned into ornaments (a tradition in my family).
Old toys make great ornaments!

hand carved boot and beautiful dove from my father in law

Fun wire and bead ball from my sister in law

Heirloom crocheted balls and my crocheted snowflakes

Handcrafted ornament from my sister in law

There are also two things I made on our tree.  Last year I taught myself to crochet from watching youtube videos so I could make snowflakes.  I found these great instructions on MarthaStewart, and cranked out enough for two styles for each of my recipients.  There are also these adorably hokey reindeer I figured out based on ones on our tree growing up.  My favorite part is that it’s the perfect size to hide a Hershey's kiss inside!

You will need

Googly eyes ($2.99)

Brown or tan pipe cleaners ($.99)

Brown yarn ($2.99 for 364 yards)

Plastic craft grid ($1.99)

Small red pom poms (about $.99, we've had them for years)

Large needle- either a tapestry needle or a plastic canvas needle, not a yarn needle, it's too big ($1.29)

Glue (craft or Elmer's) ($1.49)

Cut out three 10 x 10 squares out of the grid, snipped at the lines so there aren’t stubs on the edges.  Cover all three grids on yarn, working diagonally over the crosses.  Connect the three squares, tucking all the yarn in, knotting and tucking as needed to secure the ends.   On the mouth, go around the edge to cover the plastic around the edge, going through the corner three times to cover the whole corner.  Poke the pipe cleaner through the top sides and bend to shape the antlers.  Glue the eyes and pom pom nose on.  A little ridiculous? Sure, but wonderful all the same.


I kept going onto the second square for efficiency's sake, then bound two sides to form 1/2 the mouth

This shows the back of the squares.  Notice the yarn has been threaded though the yarn on the back so I could sew up the whole 1/2 mouth in one go.

1/2 the mouth and the back

Third square, two sides bound to form the other 1/2 of the mouth.
Looking at the side, while holding the mouth shut.

All sides bound and put together, ready for the trimmings!

The antlers are stuck through the back towards the top.

And done!  the antlers are just twisted, and the nose and eyes are glued.
 Try It:

If you had to buy everything new, you're looking at $12.73 to make oodles of reindeer. At this point in my crafting career, I had to buy nothing.

Buy It:

Well, I doubt you will find this for sale, but ornaments span the whole price range depending on what you're looking for.

Verdict:

Really, this is a decision based on aesthetics.  For me it's Try It, because I really love funky ornaments, but I realize it's not for everyone.