Tuesday, February 26, 2013

Deodorant


I know I’ve mentioned before that I’ve switched to baking soda in lieu of deodorant.  The problem is, if I haven’t showered before applying the soda, it doesn’t go on nicely.  Two of the blogs I follow- Crozette and Smashed Peas and Carrots- have covered this topic in the last couple of years, so that was the first place I went for inspiration.  The recipe Allie used had a lot of ingredients, so I nixed that one for now.  Maggie’s recipe only had three ingredients, all of which I had on hand.  Perfect!

You will need

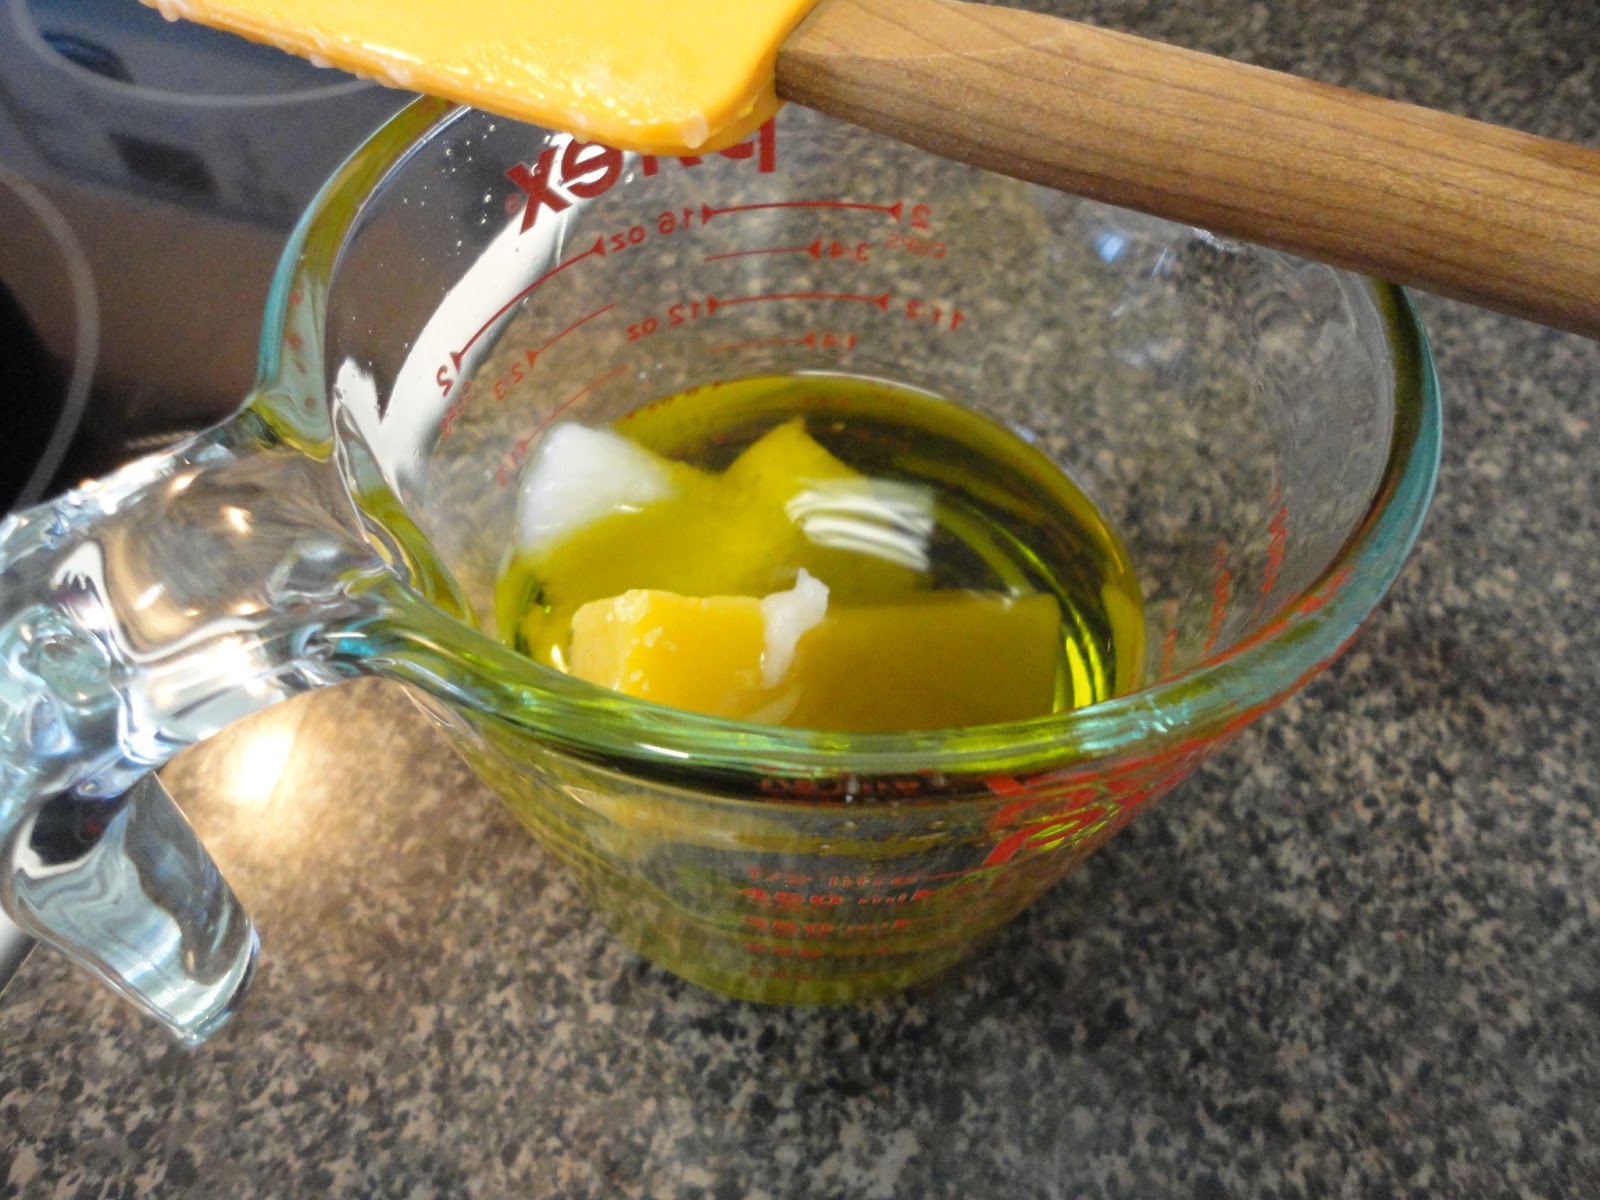
2 to 3 Tbsp Coconut oil ($9.99 per 14 fl.oz, $9.99/14fl.oz = $.71 x 1.5fl.oz = $1.07)

2 Tbsp baking soda ($.31 per lb, $.31/31.5Tbsp = $.01 x 2Tbsp = $.02)

2 Tbsp cornstarch ($1.17 per 16 oz, rough estimate = $.04)

Mix the soda and starch together in a bowl.  Knead in the coconut oil until fully incorporated, starting with 2 Tbsp, and adding until you reach a good 
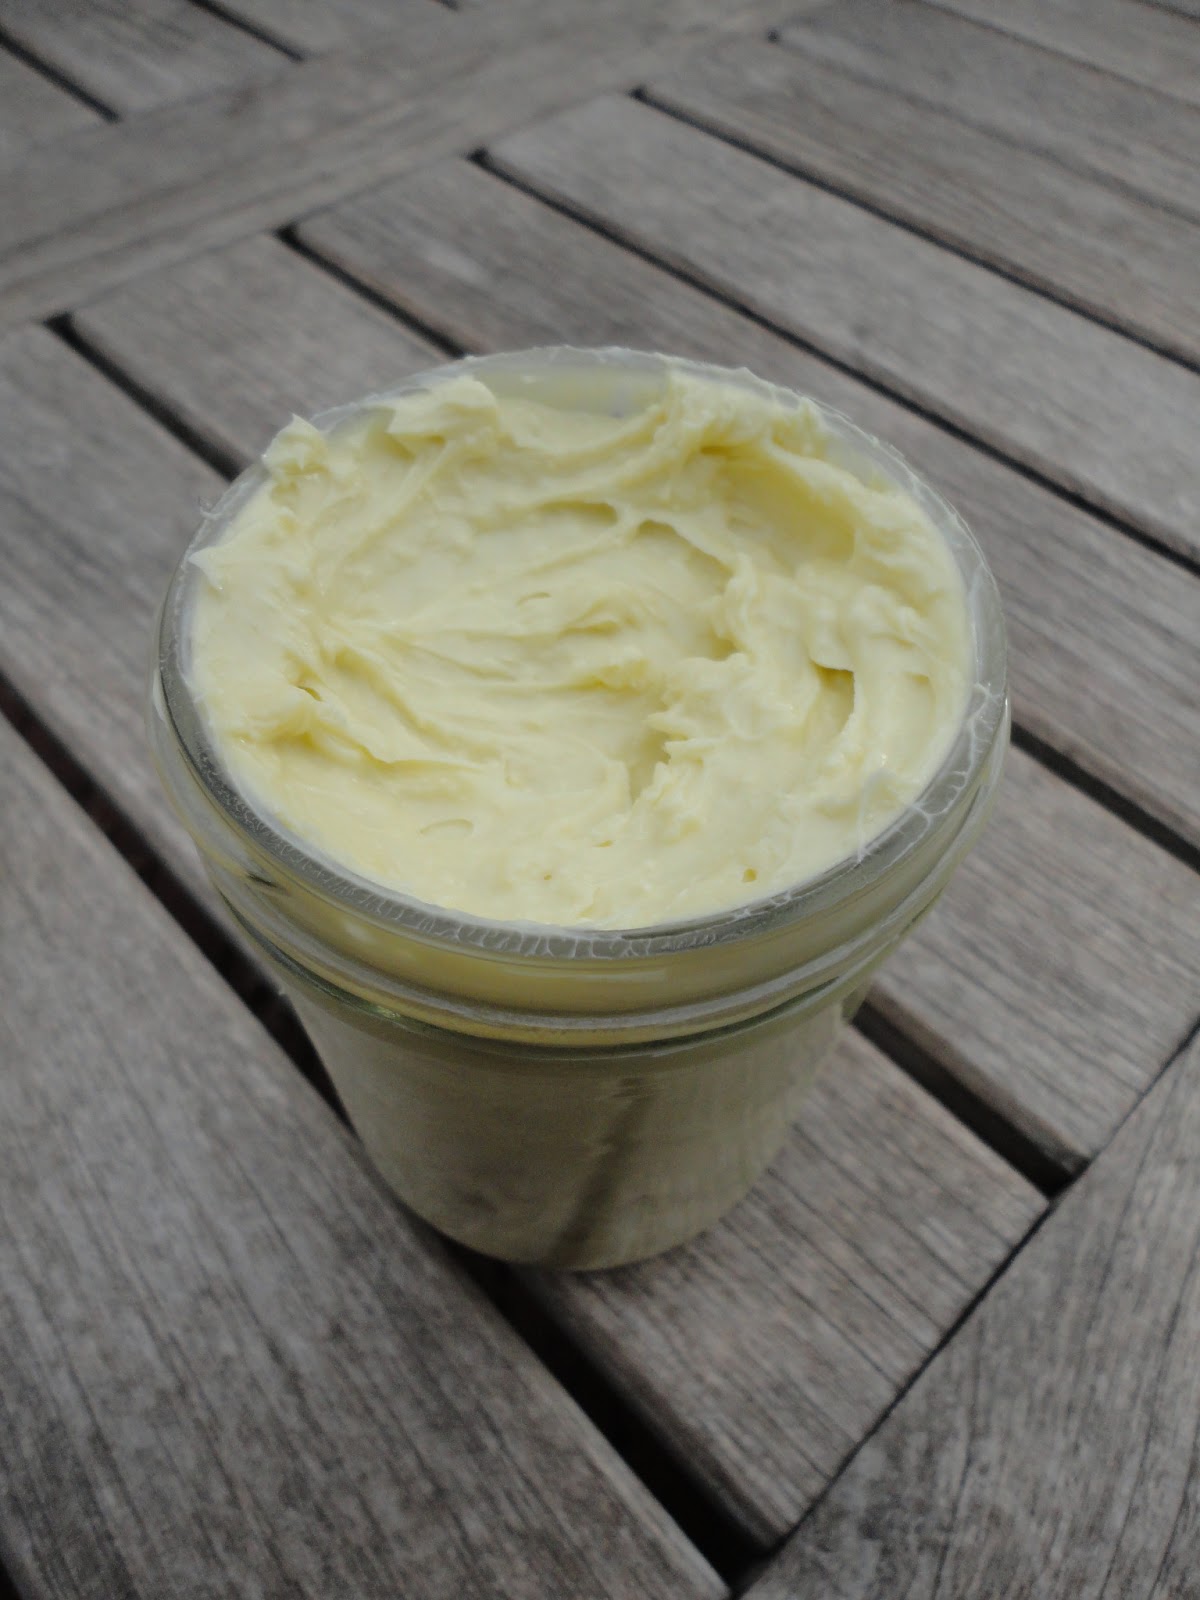
consistency.  I used about 2 ½ Tbsp.  Roll into a ball and store in a air tight container.
Squish it around with your fingers
Next time I'll mix it in a bigger bowl.
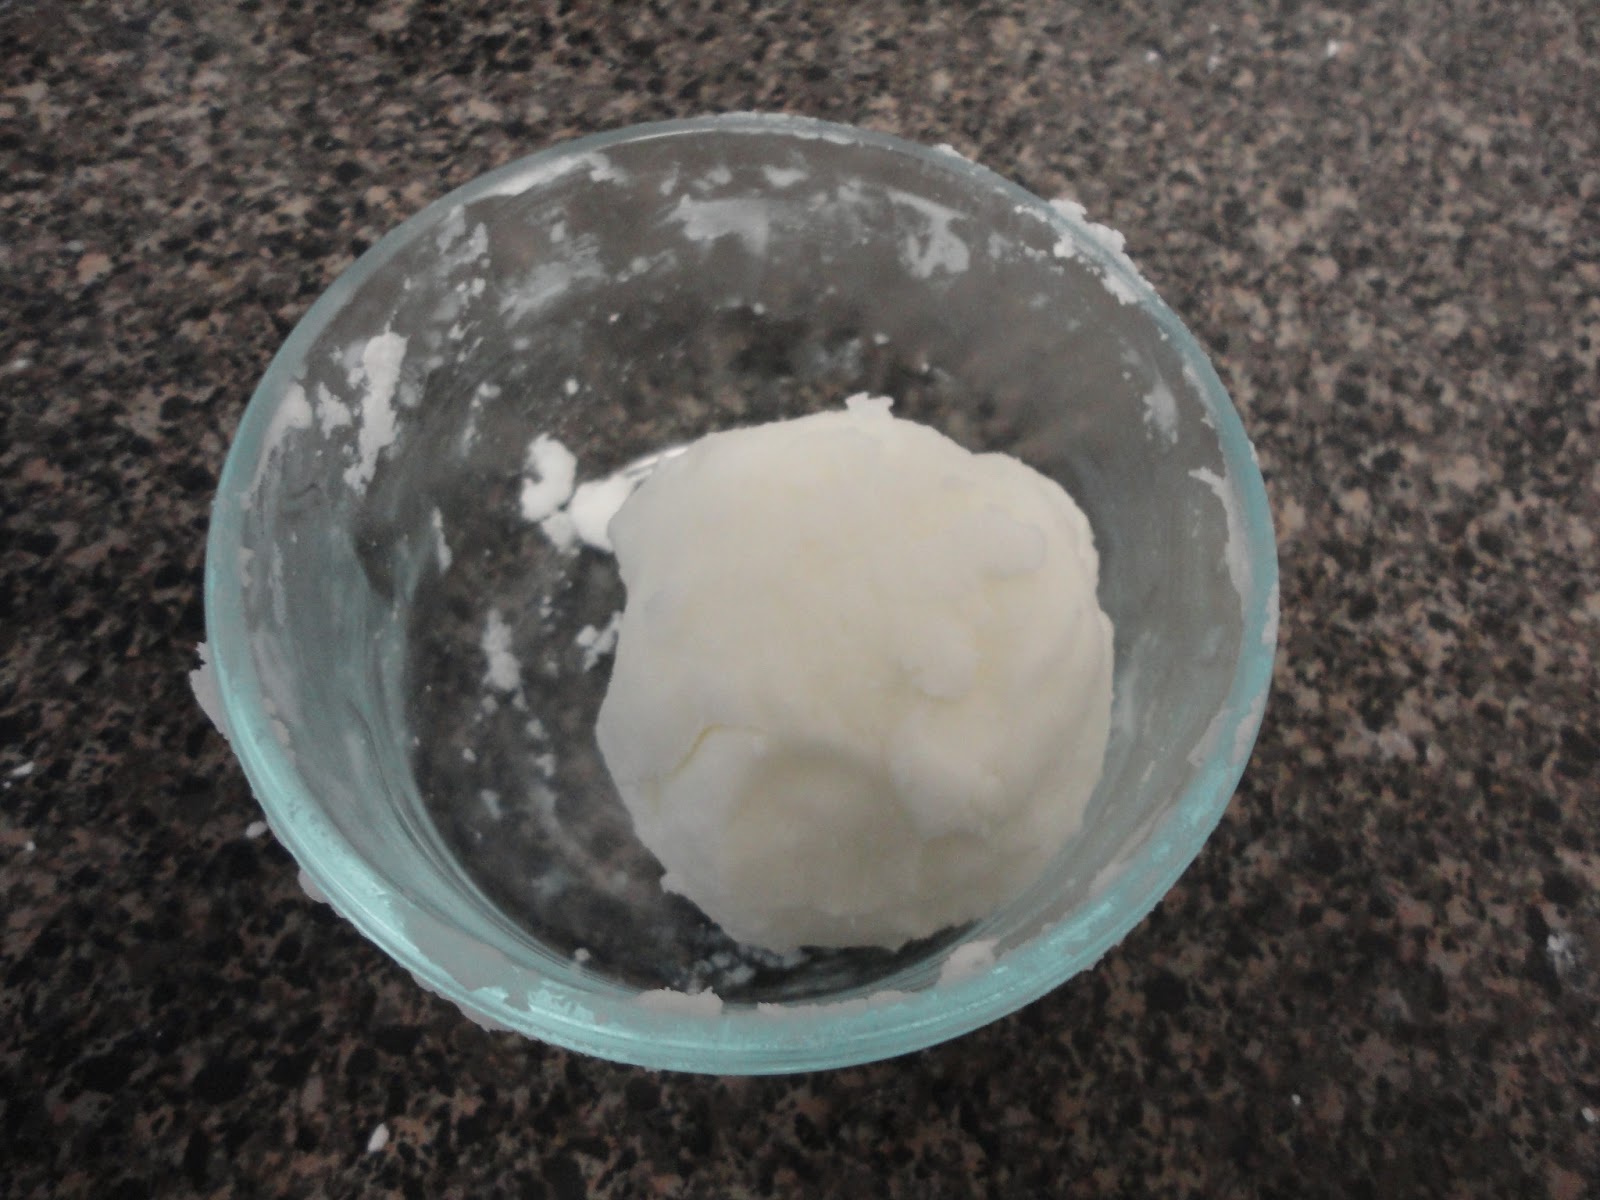
Ball-o-deodorant


Maggie said she stores hers in the fridge so it’s a hard “stone”, but if I don’t put deodorant on before I go downstairs it doesn’t happen, so I need to keep mine upstairs in the bathroom for everyone’s sake!  After a few days I figured out how to apply it without making a mess, just take a pinch and rub it on with your fingers.If you like the smell of coconut, you'll love this stuff!

Try It

$1.13 for 3 oz, or $.38/oz.

Buy It

$5.39 for 2.25 oz of Tom’s of Maine, or $2.39/oz.

Verdict

I was skeptical, but it’s actually pretty fantastic!  Thanks again, Maggie (two posts in a row, yikes!)!  Definitely Try It, it’s 16% of the cost of storebought, and works just as well as any other deodorant. (Note- It is not an antiperspirant, which contains aluminum.  Aluminum has been linked to Alzheimer’s among other things!  Not good!)  If my Tom's container doesn't break before it's used up like the last one did, I'll refill it with homemade stuff when it's gone as Allie did, but using it as I do is just fine for now.

Next Week: Croutons 

Tuesday, February 12, 2013

Sewing projects


Between Pinterest and various blogs that I follow, I’ve been making a few things lately from other people's tutorials.  They aren’t really the type of thing I usually cover here, but I think they came out pretty well, so I thought I’d share.

Casserole Dish and Carry Cases
At Christmas my sister, Sara, and I made some etched casserole dishes with insulated carry cases.  My sister is a real-deal artist/architect/designer and has skills!  It was really fun to make these together, I miss collaborating with my sisters.  We made two sets plus a smaller dish from three different tutorials:  We used the one from 2 Little Hooligans for the carry case, modified by this post on Homemade by Jill.  Then we used this tutorial for the etching from Make It and Love It.
Beautiful Kenyan batiks.  I have a mei tai in the left hand fabric my friend Em made me.
Sara copied the wheat design from the batik for this one.
This dish we etched along the sides.  It's an aspen leaf.
Cost break down:

Dishes ($14.19 for one dish, plus $17.29 for a set)

Etching Cream ($17.98 per 10oz bottle) note- If I had it to do over again, I'd just buy the 3oz bottle

Contact Paper and painter's tape (free, left from home renovations 6 years ago)

Cloth (free, gifted)

Webbing ($15)

Velcro (can't find receipt, I think it was about $7)

Insulation ($11.98)

Total: $83.44 for 5 items, more or less $16.69 per item.

I know it sounds expensive, but this covered 3 families on my gift list, it was fun to make, and it was split between me and my sister.  (Plus I now have a freaking lifetime supply of etching cream.)

Reversible Pinafore

I also made this sweet little reversible pinafore for Elizabeth from a tutorial on Smashed Peas and Carrots.  I’ve been staring at this page for months waiting for Elizabeth to be big enough to wear one, but it still came out too big for her.  She’ll be ready before summer, I hope!  I’m a little obsessed with pinafores.  Somewhere between an apron and a dress, I think they are so cute and versatile and useful!  I just might start wearing them myself...if I can improve my sewing.  I made one small change to the pattern.  Inspired by this other tutorial from dee*construction, instead of cutting all the pieces separately then sewing them together, I taped my pattern pieces together and cut them as one continual piece.  It's not as cloth-conservative, but I really like the simplicity of it.  Next time I might be brave enough to draft my own pattern!  


Cost break down:

Cloth ($13.98)

Buttons ($2.39 for 5, $2.39/5 = $.48 x 4 = $1.91)

Thread ($1.23)

Total: $17.12 (A local boutique sells them for $40)

It's cute, but next time I'll get bigger buttons and try to make it fit better.  Since it came over Elizabeth's knees, she got so mad trying to crawl that she attempted to rip the pinafore off!

Tuesday, February 5, 2013

Hand and Body Lotion


I’m almost out of lotion.  With a winter like the one we’ve been having, this is a big problem!  Since I knew I wanted to try making lotion when my stock got low, I’ve been looking all over the web for weeks looking for a recipe that didn’t contain lotion as an ingredient (seriously?), contain ingredients I wasn’t comfortable with, and ideally one that I could make plastic free.  And I found it!  This recipe is from muffindiaries.com, but the author says it came originally from a book called Making It: Radical Home Ec for a Post-Consumer World (Which I now must find because the preview on Amazon made it look like a great resource!).

You will need

¾ cup olive oil ($2.99/lb, .36lb x $2.99 = $1.08)

¼ cup coconut oil ($9.99 per 14 fl oz, $9.99/14oz = $.71 x 2oz = $1.43)

1 oz beeswax ($7.19 per 5oz, $7.19/5oz = $1.44)

1 cup water at room temp (free)

Simple ingredients.  Bulk olive oil is nice and cheap!
Before putting it over heat.
Bring a few inches of water to a simmer.  Put the olive oil, coconut oil, and beeswax in a pyrex measuring cup (or wide mouth mason jar if you don’t have one), and place the measuring cup in the pot of water.  Leave the cup there until all the coconut oil and beeswax have melted.

Wax half melted.  If I make this again I'll chop the wax, it took forever!
While your oil is melting, fill a blender halfway with hot water so the blender will be warm.  When everything has melted, pour the water out of the blender, dump in the hot oil, put the top on, and blend on the lowest setting to start.  In a slow constant stream, add the room temperature water to the oil, scraping the sides of blender as needed.  Add as much or as little water as you like to reach a consistency that works for you, but keep in mind that your mixture is warm, and will become less runny as it cools.  Store in a wide mouth jar.

If you would like to add an essential oil, you can add 10 drops after taking the oil off the stove, before you put it in the blender.  I skipped this because in case you haven’t heard me say it 1,000 times yet, I am very smell sensitive and prefer unscented lotion (plus I’m cheap like that).  Without any essential oil the lotion has a really pleasant and mild honey scent that I very much enjoy!


Big crazy mess of a blender! 


Finished!


Try It

$3.95 for 16fl.oz, or $.25/fl.oz

Buy It

I currently use Aveeno and Kiss My Face lotions, Aveeno is $6.99 for 12fl.oz, or $.58/fl.oz.

Verdict

I like it okay, and I know my reasons for Trying were mostly about packaging, not a displeasure with my current lotion, so it makes it hard to switch.  I’ve given it a solid 4 days.  I like the light honey scent, and I like that it’s chemical free, but it’s just really greasy!  (I know, I combined wax and oil, what did I expect?)  I'm really on the fence.  I’ll use it up, but until I find a recipe I like better, I’ll have to Buy It, but I don’t feel good about it.  Also- the most difficult part of this project was cleaning the blender.  I think if I do try this again I’ll do it in the food processor which comes apart more for cleaning.  It is really difficult to get the wax out from under the blender blades!