Monday, December 24, 2012
Merry Christmas!
Hello all! It's Christmas Eve, so I've got a full day of family time planned, but I just wanted to let you know that I added some pictures to my Cinnamon Roll post! I'm so excited to sink my teeth into these sugary delights, they are one of my favorite traditions.
Wednesday, December 19, 2012
Pinwheel Hairbows
I am not a very girly girl, never have been, but when I found out I was
having a girl, I have to admit that I was excited about the things I could make
for her. Pinafores, simple dresses, and
yes, even hair bows. I went through a
period last spring where I just worked on how to get these things right, and
now I think I’ve gotten a couple styles down.
My favorite so far is the pinwheel.
It’s pretty simple, and you only need a couple things to make it. I don’t remember which tutorial I actually
used, there are a lot out there.
I guess I should also note that I now sell these, which makes them cheaper to make since I only make them in a limited color range and I buy the supplies in bulk. But the prices I note are the prices you'd find at Joann. In case you're interested in making a bunch, I get my supplies at Hip Girl Boutique.
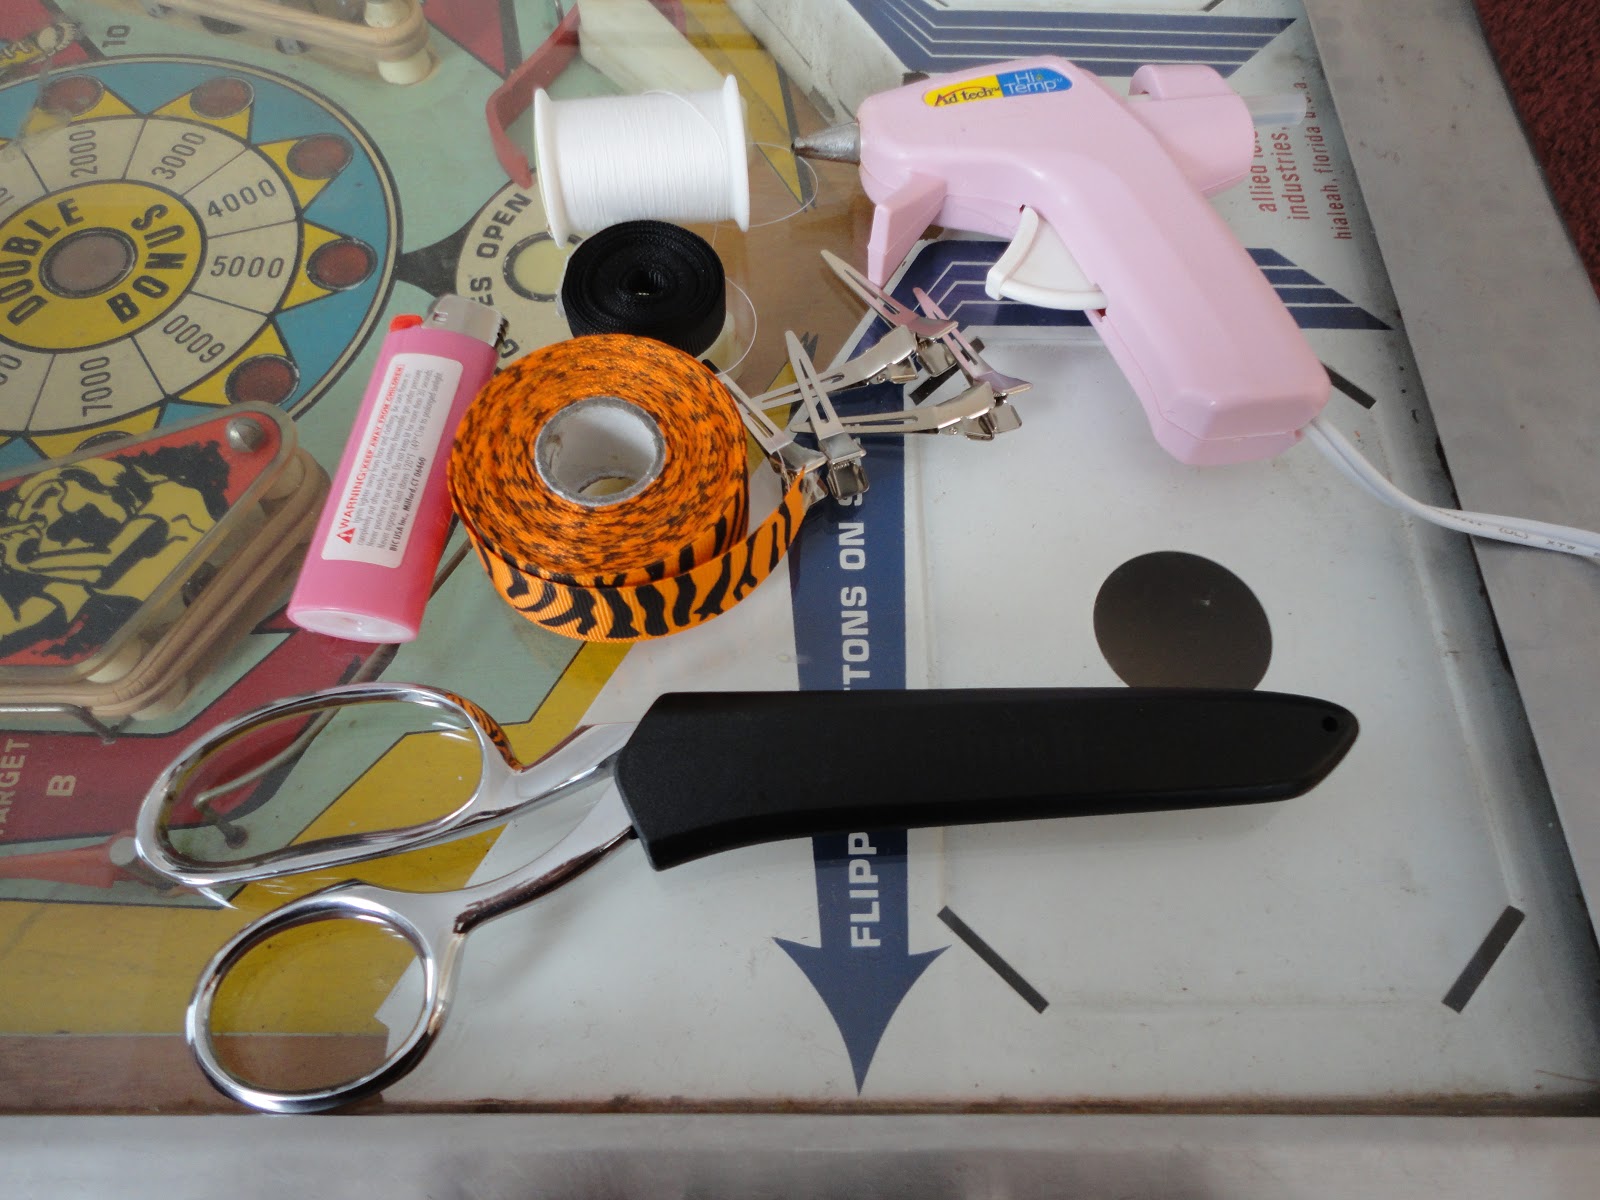 |
| Supplies ready to go! |
You will need
Thread (leftover, free)
Scissors (gifted, free)
Lighter (ancient, free)
Hair clip ($3.49 per 2 clips, $3.49/2 clips = $1.75)
18 inches of 7/8” wide ribbon ($3.49 per 18ft, $3.49/216in = $.02 x 18in = $.29)
4 inches of 3/8” wide ribbon ($1.99 per 18ft, $1.99/216in = $.01 x 4in = $.04)
Hot glue gun ($4.29)
 |
| First wrap... |
 |
| ...then pinch accordion style... |
 |
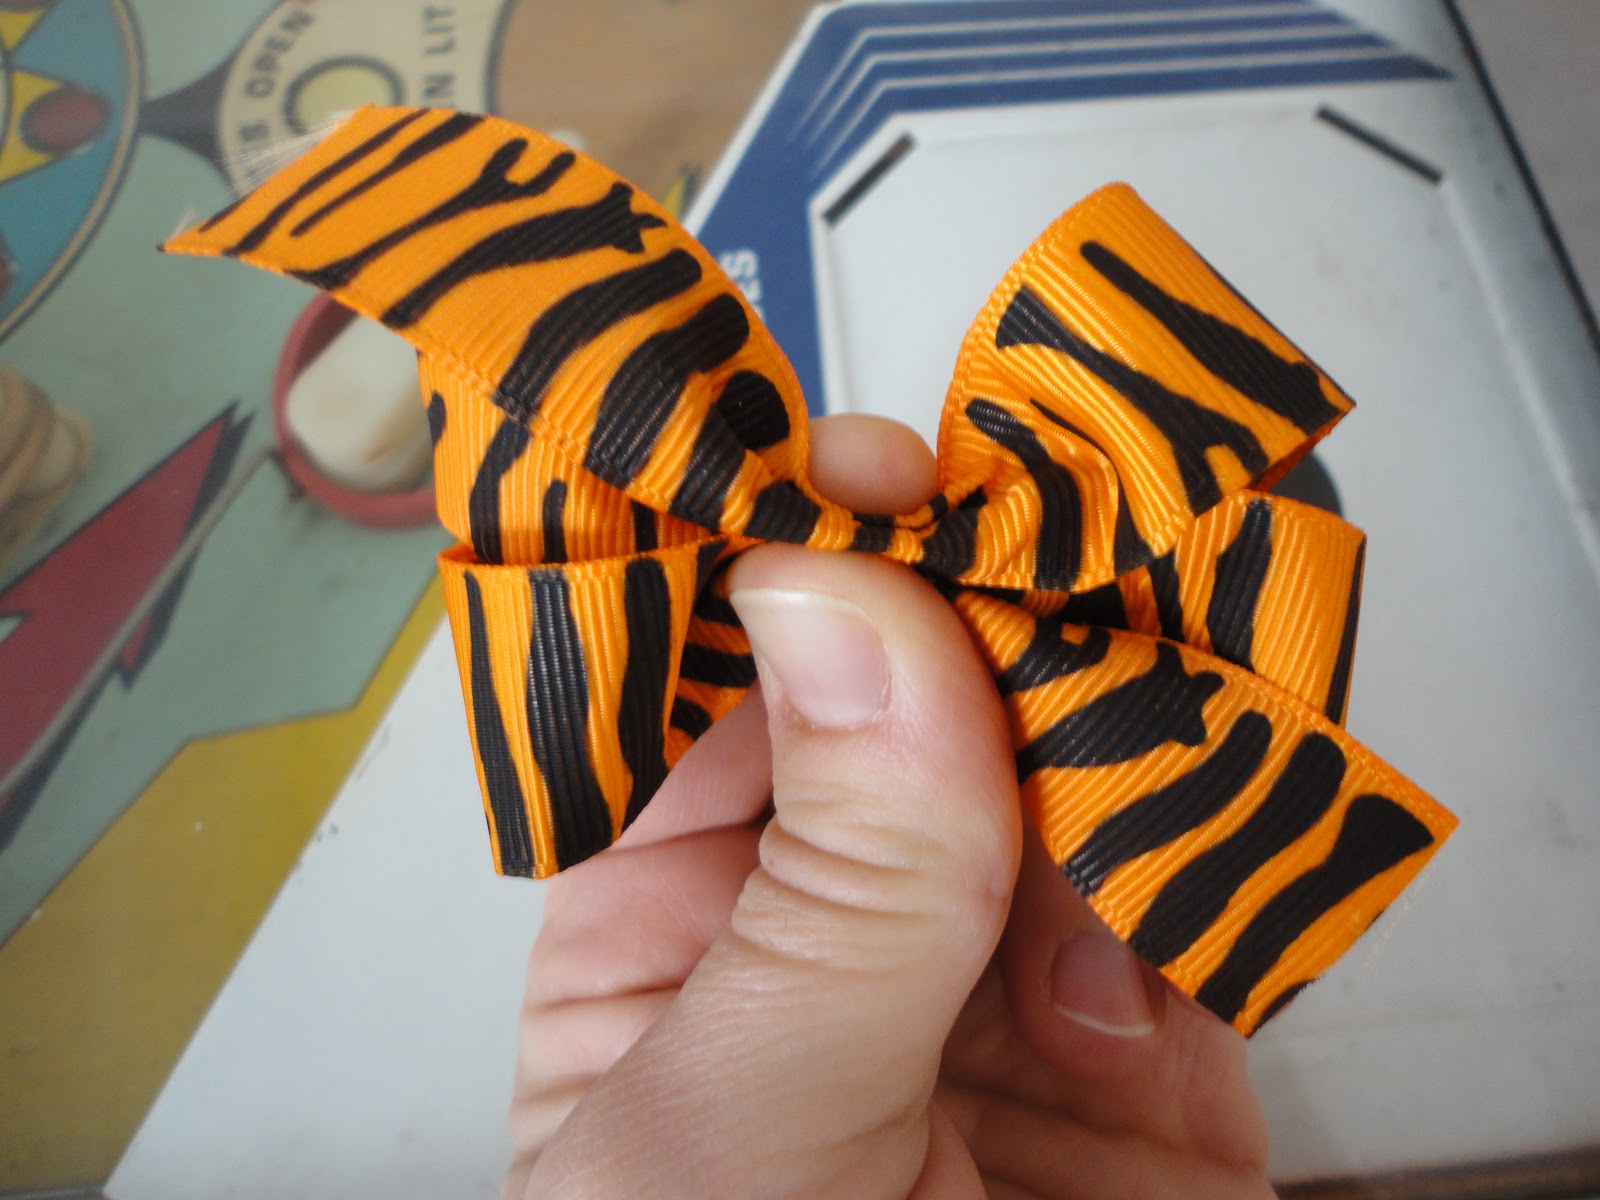
| ...and adjust it while it's loosely tied. |
Wrap the main color around your hand so you have three
layers on top and two on bottom.
Accordion fold all the layers together as they lay in the middle of your
bundle and pinch it together. Make sure
that the ends of the accordion fold are both facing to the back. Wrap around this pinched spot with your
thread a couple times, but don’t knot it yet.
At this point you can adjust your bow so that all the loops are even and
it looks the way you want it to.
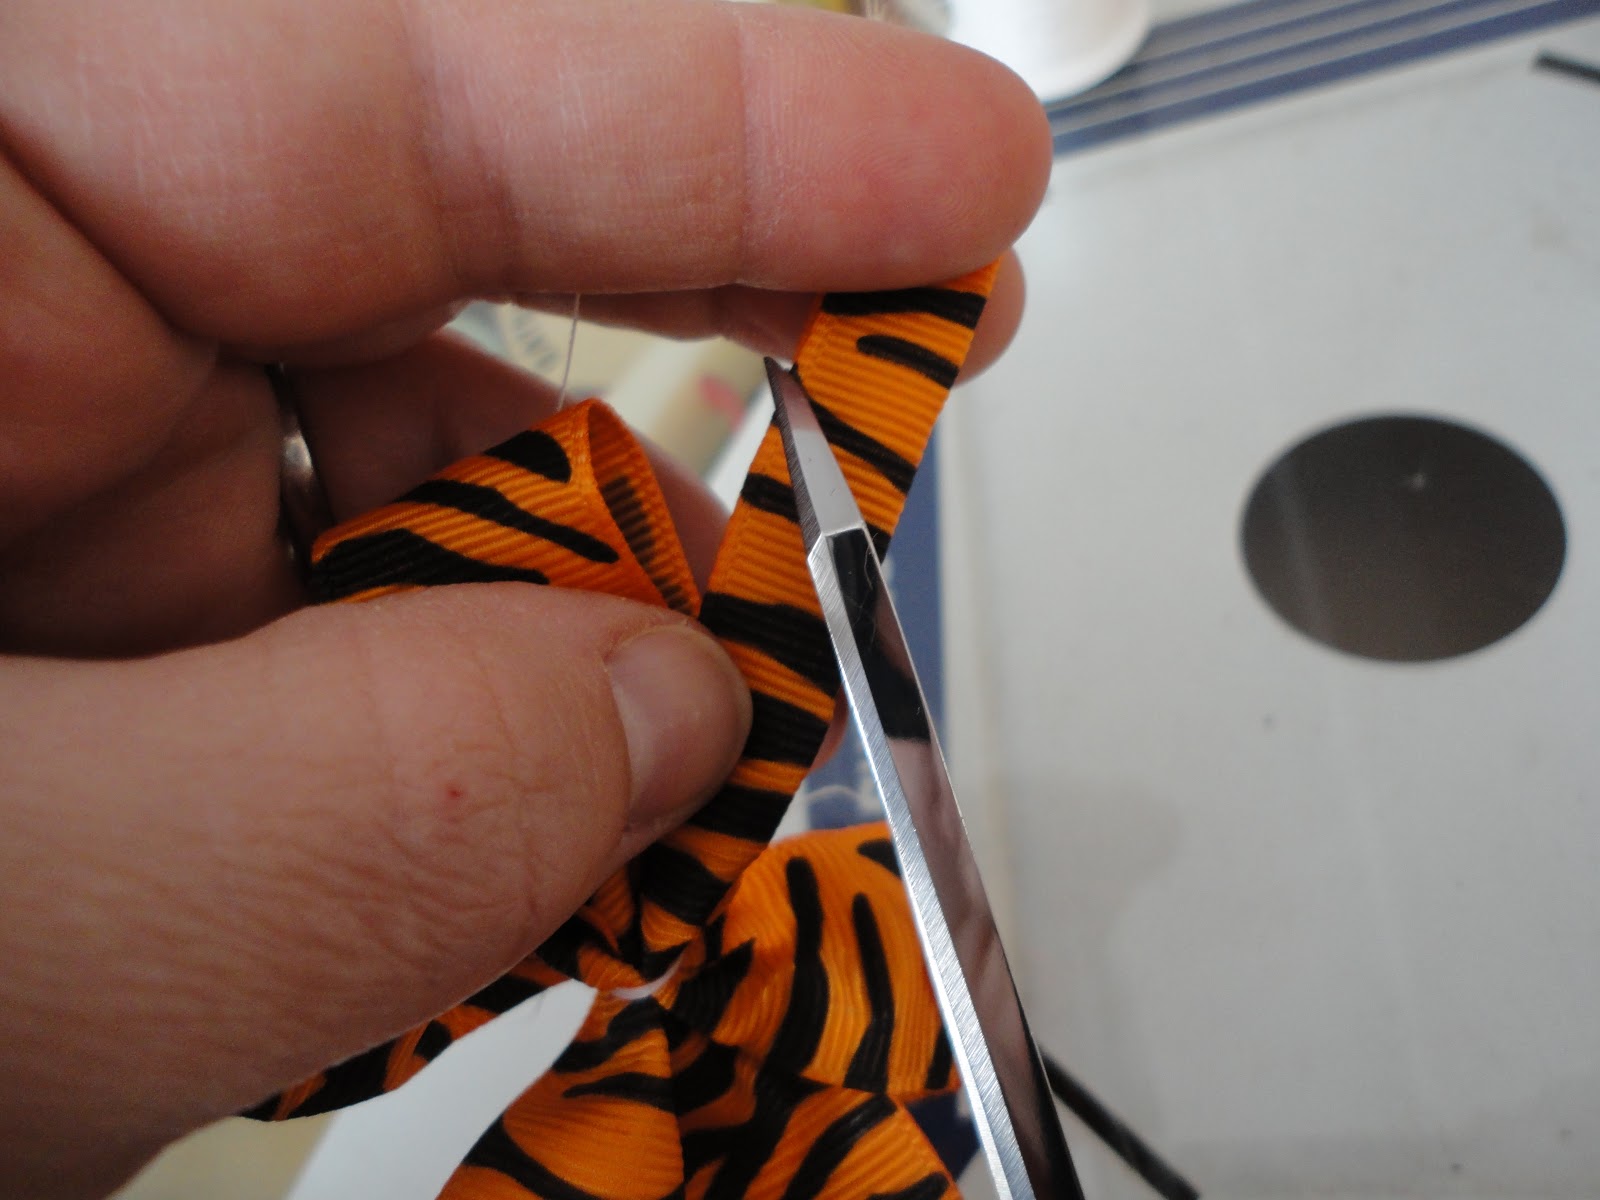 |
| Cut the ribbon edges and heat seal them. |
 |
| Now it's ready to attach to the clip. |
Once you are satisfied, pull your thread very tightly and
knot it. Clip the ends of the thread
off. Now take the tails of ribbon, fold
them in half length-wise, and cut at a diagonal to get a double tailed effect
(or just cut a straight diagonal across if you’d rather). Take your lighter and quickly pass it over
the new ribbon tails to prevent fraying.
Be careful! You don’t want to
overheat the ribbon or it’ll go all wonky!
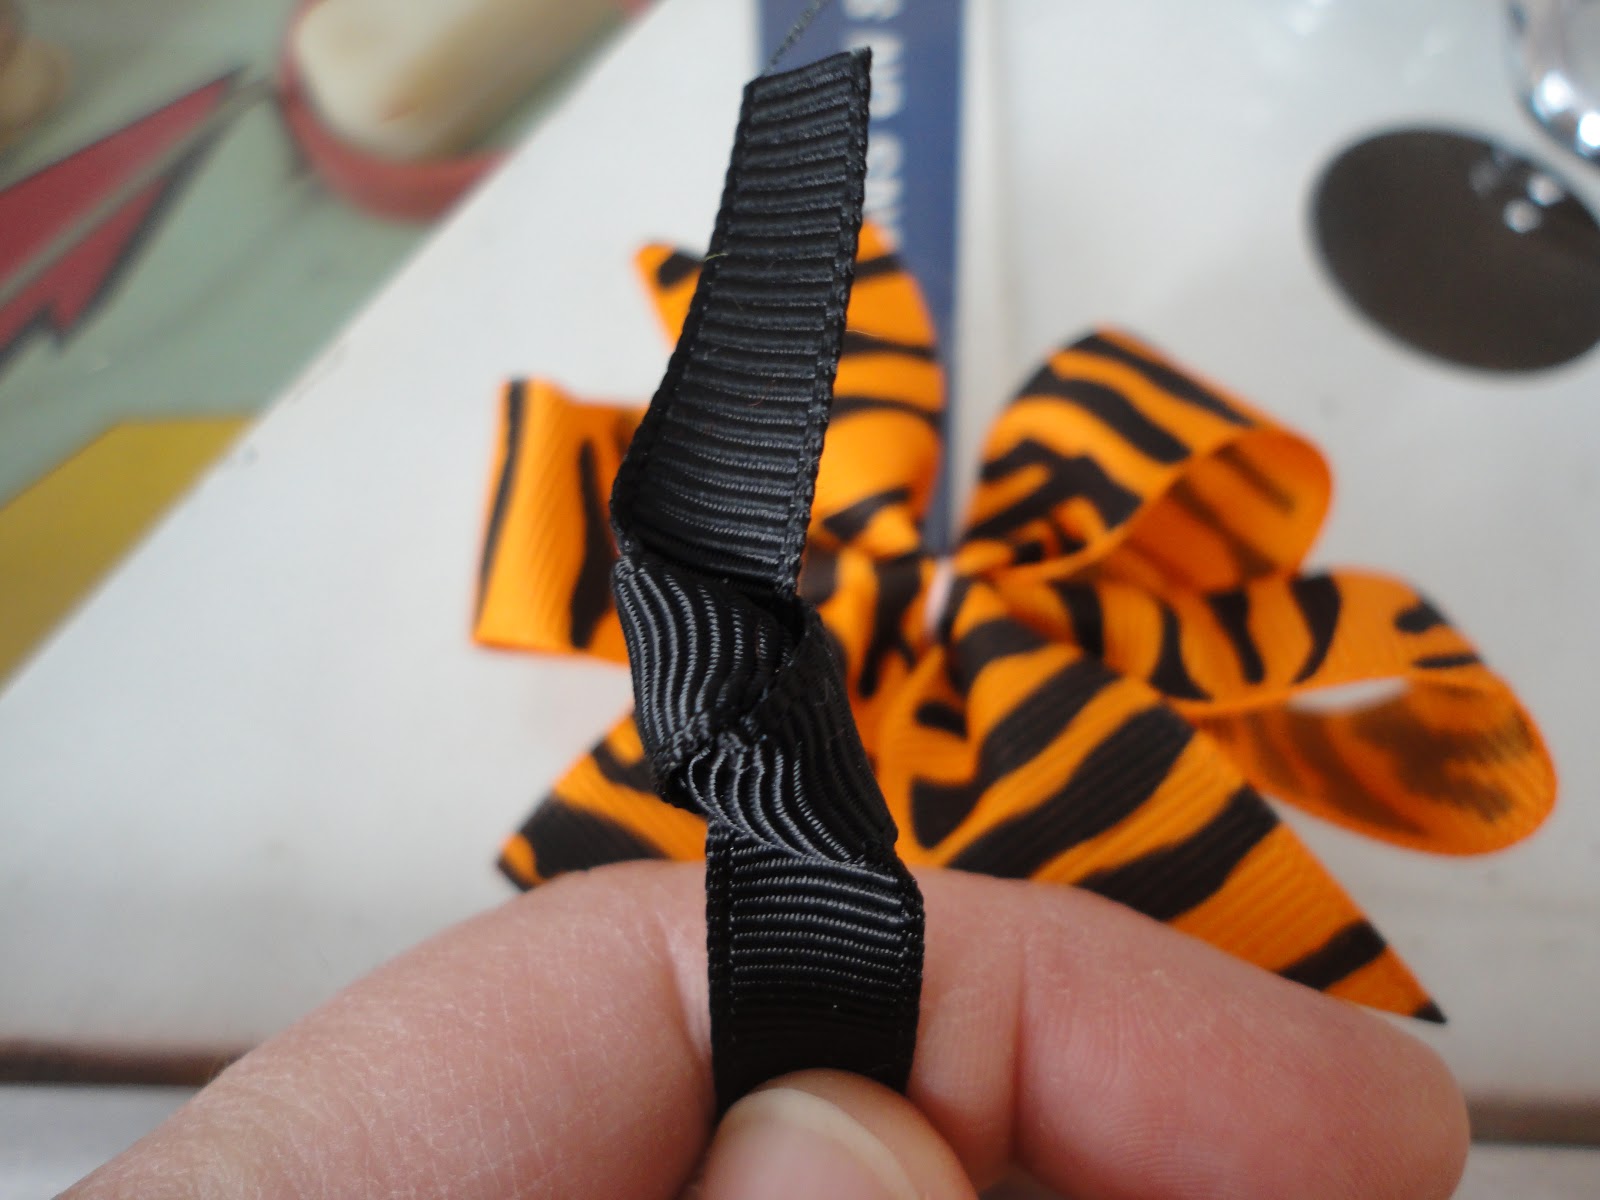 |
| My loose knot for the center of the bow. |
Now take your accent color ribbon and tie a loose knot in
the middle. Put a small dab of glue in
the center of your pinwheel and affix the knot in top. But a small dab of glue on the back of the
pinwheel and affix an OPEN hair clip.
Quickly pull one of the accent color tails across the inside of the
hairclip and allow the clip to close.
Cut and heat seal the Piece you just glued down. Put a small dab of glue on the accent ribbon
inside the clip and pull the other side of the ribbon across it. Clip and heat seal that side. Since Elizabeth
doesn’t have much in the hair department, I clip this thing to a headband for
now. Why tiger stripes? Well, my kids attend a lot of sporting events,
so this is an easy way to show our Tiger pride.
Go Tigers! Don’t have a little
girl? You could also attach a pin
back.


 |
| Elizabeth with her headband. |
 |
| Same bow on my grownup head for size reference. |
Try It
The supplies for the bow itself cost $2.08. I had to buy a glue gun for this project. If you think you'll make more than a couple bows than I definitely suggest taking to the web to buy clips. Before shipping it takes the cost of clips down to $.10 a piece.
Buy It
Pinwheel hairbows range in cost, but usually go for around $4 - $6.
Verdict
Try It if you've got the patience for hot glue. I guess there's the possibility of spending a lot on ribbon that you only use once, but you could also make them for gifts.
Tuesday, December 11, 2012
Dish Soap
My Seventh Generation dish soap is about to run out, so it’s
the perfect time to try making some. It’s
not a very exciting project, but just like the laundry soap (which we’re still
using!) it’s one of those basic products that I need every day. That makes it worth the try.
I looked through my
Green Clean book but the recipe was extremely vague. It just said to combine vinegar and castile
soap, without even giving amounts! I
don’t do well with vague. Next I did a
big internet search and I happened upon an interesting resource called FrugallySustainable. It has a bunch of housecleaning recipes,
including a detailed dish soap recipe.
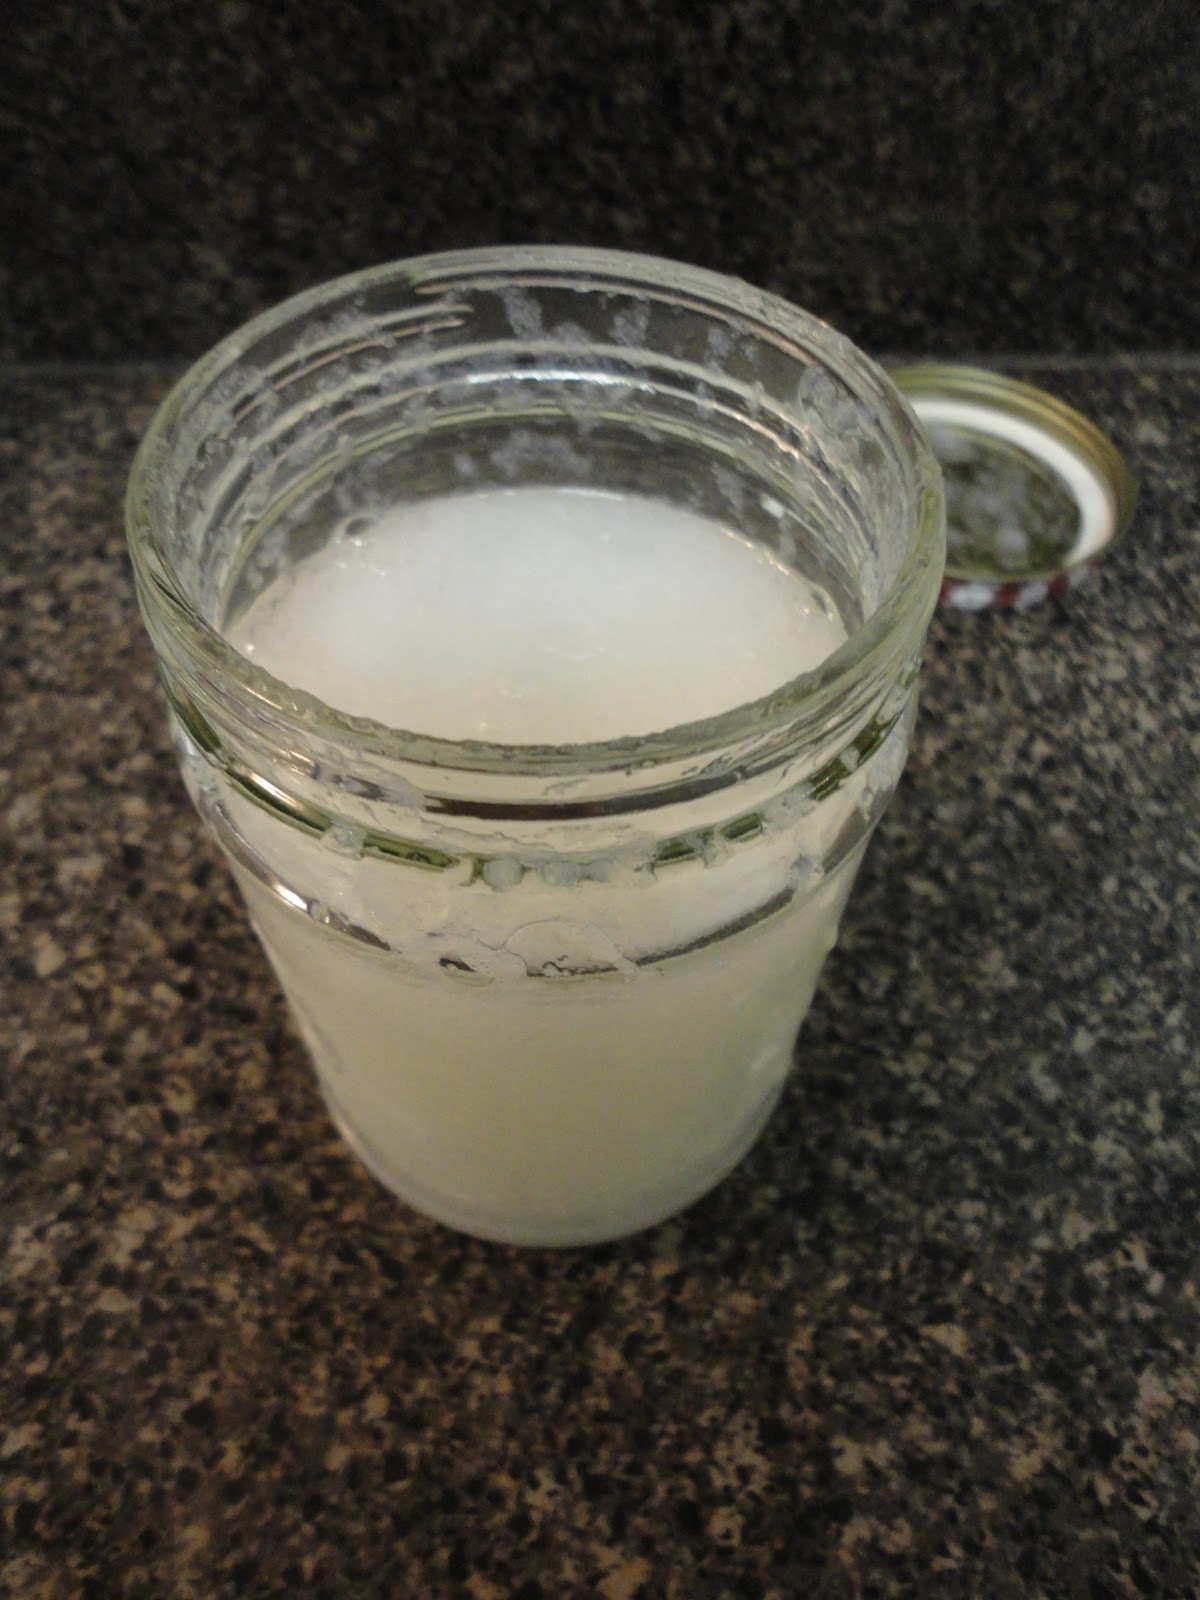 |
| Soap! |
You will need
1 ½ cups hot water (free)
1 Tbsp shredded castile bar soap ($3.29 per 1.125 cups
shredded, $3.29/18Tbsp = $.18)
1 Tbsp white vinegar ($2.89 per 128fl.oz, $2.89/128fl.oz =
$.02 x .5fl.oz = $.01)
1 Tbsp washing soda ($3.49 per 55oz, $3.49/55oz = $.06 x
.652oz = $.04)
1/8 tsp tea tree oil ($12.49 per 2 fl.oz, $12.49/2fl.oz =
$6.25 x .02fl.oz = $.13)
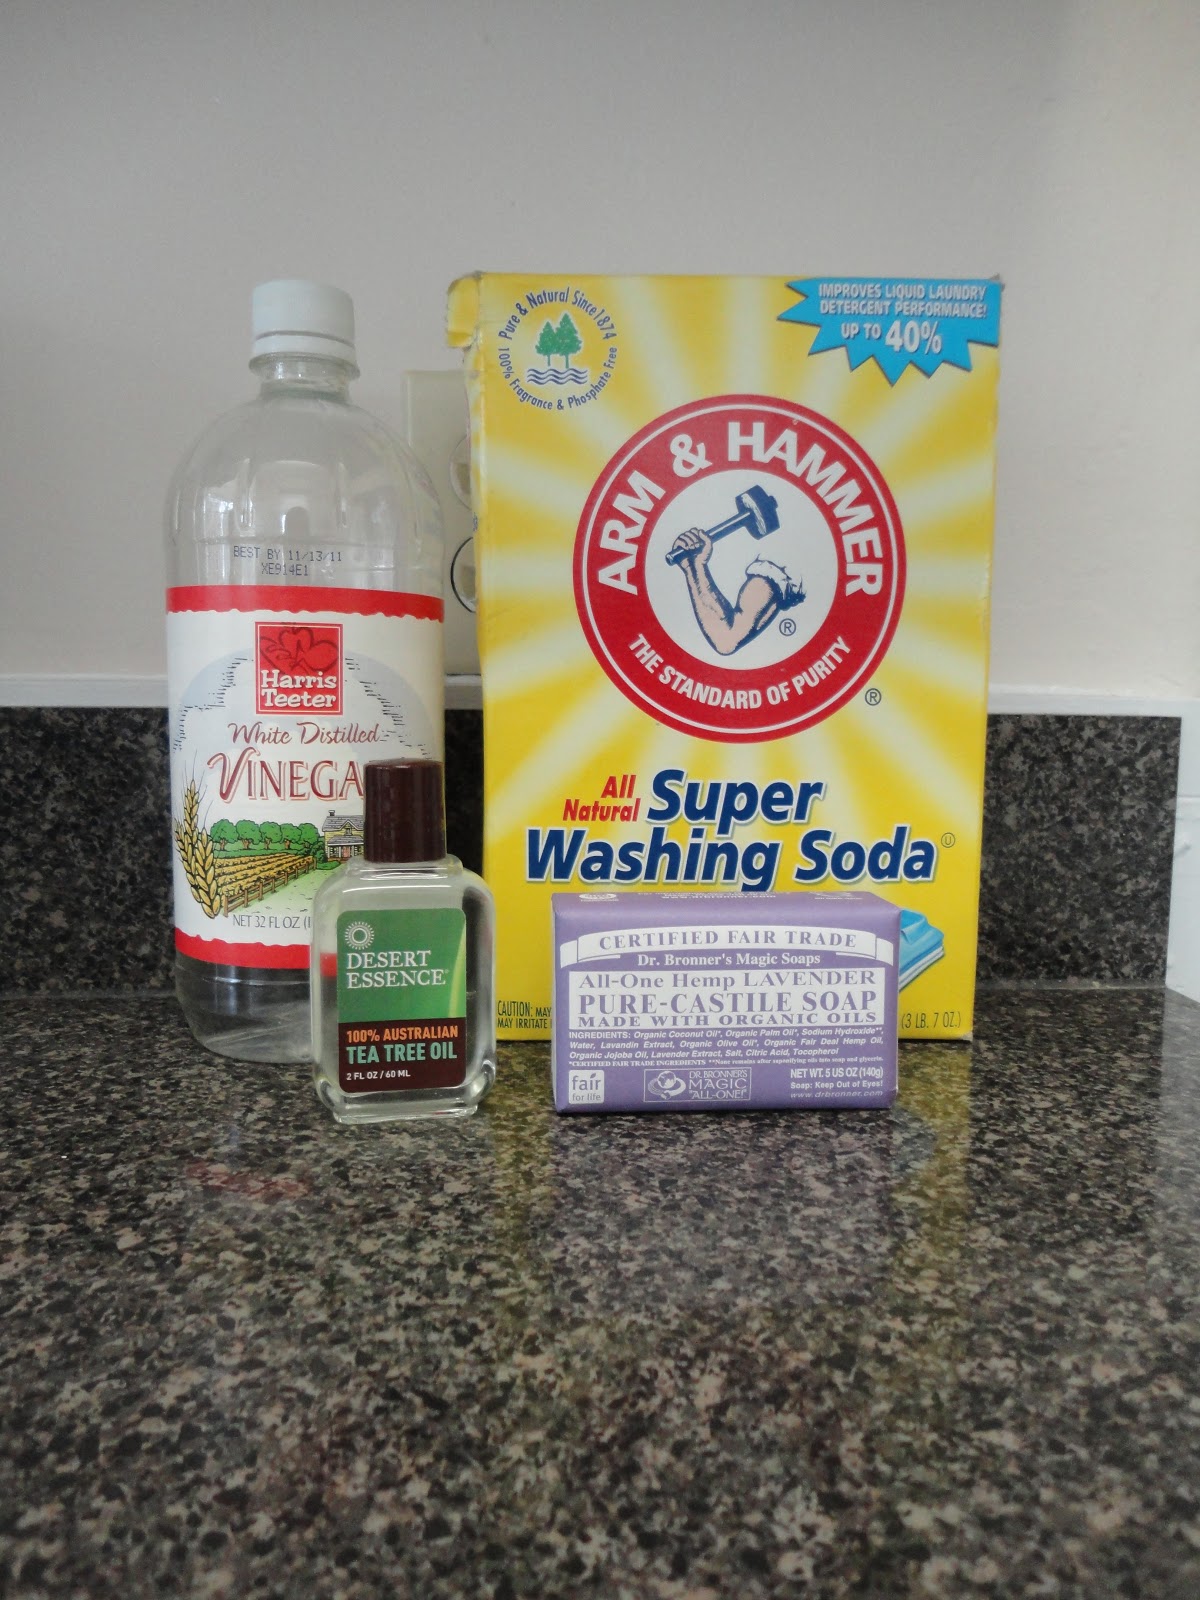 |
| Other than water this is all you need! |
Since I knew all my castile soap would be used in a shredded
form, I decided to forgo the box grater and jump straight to the food processor
to chop the soap the same way I do for laundry soap. This yielded 1 1/8 cups of soap nubs.
Combine everything except the water in a heatproof bowl. Pour water into the bowl and stir until all
the soap and soda has melted. Allow it
to cool on the counter for 8 hours or overnight.
I used the hottest water my tap could make, but I don’t
think that was hot enough; I couldn’t get the nubs to melt totally. I stuck the whole thing in the microwave for
a minute and stirred it for longer than I thought was needed until it all
melted. Next time I’ll boil the water.
After 10 hours it had a thick layer of jell on the top. I had to break though that and whisk it all
up so I could call it liquid. It seems
to work pretty well. It made decent suds
and left glass squeaky.
 |
| Chunky soap jell |
 |
| Final consistency |
$.36 for 14fl.oz,
or $.03/fl.oz
Buy It
$3.79 for
25fl.oz, or $.15/fl.oz
Verdict
Tuesday, December 4, 2012
More Homemade Ornaments
Last year my sisters and I switched our annual gift from a night out to dinner together to an ornament exchange. The night out was really hard to give up, but since we’re now scattered in Michigan; New York; Santiago, Chile; and Virginia, it’s just no longer feasible (if you are my sister reading this, this is a hint for you to move closer!!). On the bright side, all of us enjoy crafting, and we all have pretty different styles, so it was exciting to see what each person came up with!
 | |
| My favorites were Sara’s. She wrapped toy animals in cotton yarn so just the head and legs were sticking out. |
 |
| Night out Christmas '08! Good times, bad picture. |
Mine is the felt heart (remember my Valentine’s post with
the left over felt? This is what it’s
leftover from). My sisters and I play a
lot of cards- A LOT of cards. So I made each of us a suit.
 |
| I think they came out pretty nicely, but I need to work on my embroidery skills. |
Since I made them so long ago and didn’t take pictures, I
can’t do a visual step by step, but I can break down the process.
You will need
1 sheet red felt ($.29)
I sheet black felt ($.29)
Red and black embroidery floss ($.99 each, $.99 x 2 = $1.98)
A small amount of stuffing (snagged from my mother's stash, free)
Tacky Glue (leftover from who knows what, free)
Search Google Images for a clip art of the shape of your
ornament. Print out and size it properly
for both the main body and the overlaying color. Cut out the shape and trace around it on your
felt so you have two of the larger size and one of the smaller size. Center the smaller shape onto one of the
larger shapes and glue it on, leaving a little space around the edges. Stitch around the smaller shape using a
blanket stitch with two embroidery threads at a time. (at this point, you can also embroider
anything on the other large shape if you wish. I wrote "2011".)
Now put the two big shapes together, right sides out. Machine sew together leaving a gap big enough
to stuff. Stuff the shape to desired
fullness. Sew the remaining gap
shut. Blanket stitch around the larger
shape. Add a loop of embroidery floss to
hang it by.
I got my inspiration from a $2 Target ornament. I went by this year and saw a lot of
homemade-looking ornaments that I know I could make better. It’s a good starting point if you feel
overwhelmed.
I’m pretty stoked about my ornaments this year, but I guess
you’ll have to wait till next Christmas to see them! I’ll remember to document them this time…
Try It
$2.56 for 4 ornaments, or $.64 each.
$2.56 for 4 ornaments, or $.64 each.
Buy It
Inspiration ornament from Target was $2.
Inspiration ornament from Target was $2.
Verdict
Try It if it's your style. Homemade ornaments in my opinion make the tree. My husband tells me I have an unusual taste for what belongs on a tree, but I'd rather look at a tree of memories and love from friends and family than one that looks thought out any day.
Try It if it's your style. Homemade ornaments in my opinion make the tree. My husband tells me I have an unusual taste for what belongs on a tree, but I'd rather look at a tree of memories and love from friends and family than one that looks thought out any day.
Subscribe to:
Posts (Atom)